Introduction
As a Cyber Security student learning SOC operations, one of the first hands-on skills you need is getting data into a SIEM. Splunk Cloud is one of the most widely used SIEM platforms in the industry, and Windows Event Logs are the most common data source in enterprise environments.
In this guide, I walk you through the complete process of sending Windows Event Logs — Application, Security, and System — to your Splunk Cloud Trial account. I documented every step while doing this myself on my own Windows laptop, including the real errors I hit and how I fixed them.
Prerequisites
- Windows 10 or 11 laptop with Administrator access
- A free Splunk Cloud Trial account — sign up here
- Notepad++ installed — download here (do NOT use regular Notepad)
- Port TCP 9997 outbound open on your network
- PowerShell running as Administrator
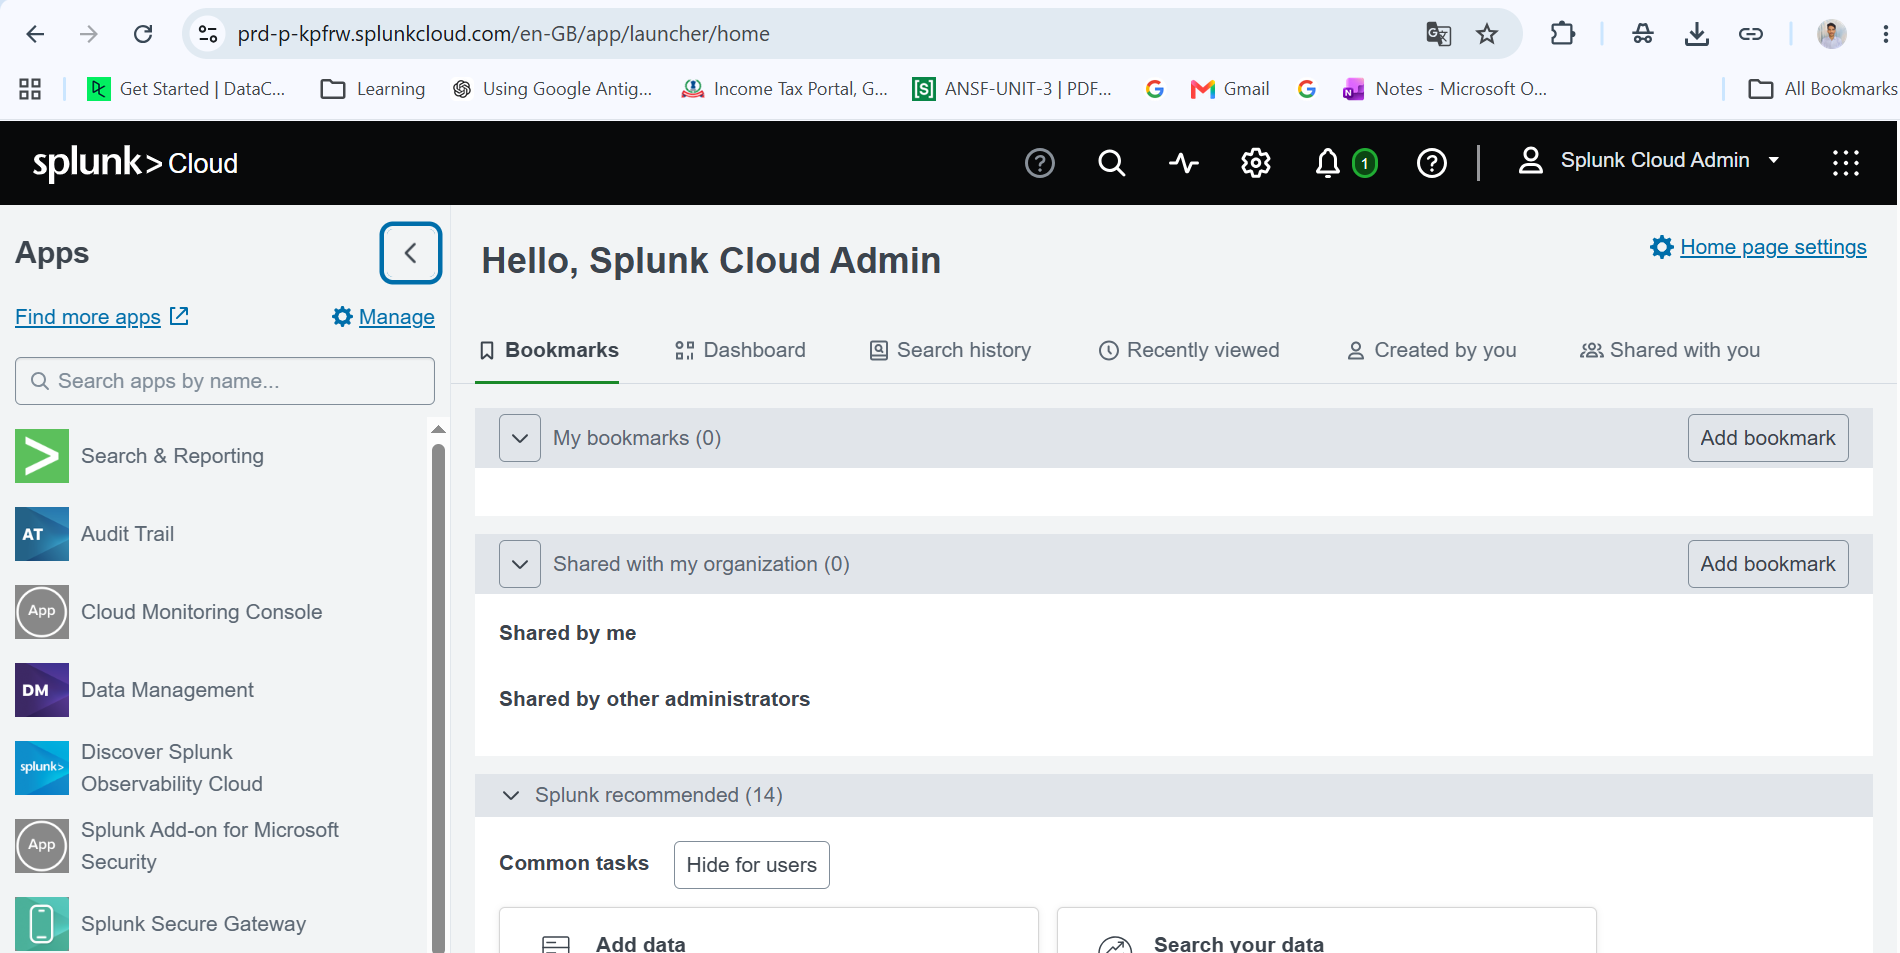
Open your browser and go to your Splunk Cloud trial URL:
https://prd-p-XXXXXX.splunkcloud.comLog in with your admin credentials. You land on the Splunk Cloud home dashboard.
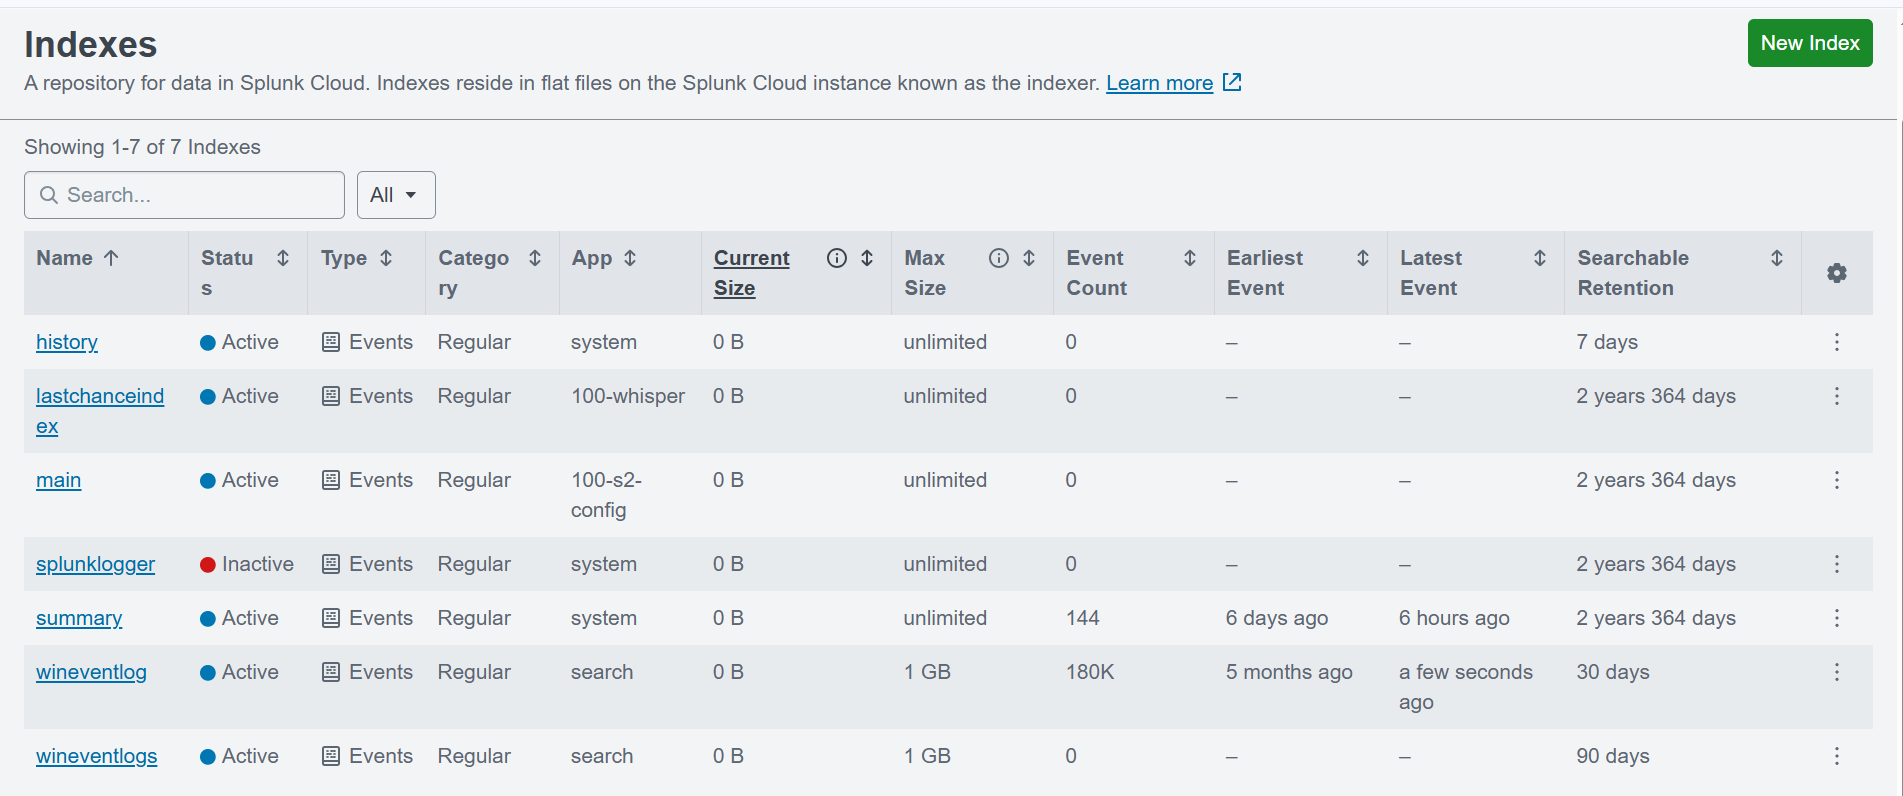
Splunk stores data in indexes. You need to create one before data can flow into it. Think of an index as a dedicated folder for a specific type of log.
- Click Settings in the top navigation
- Click Indexes
- Click New Index
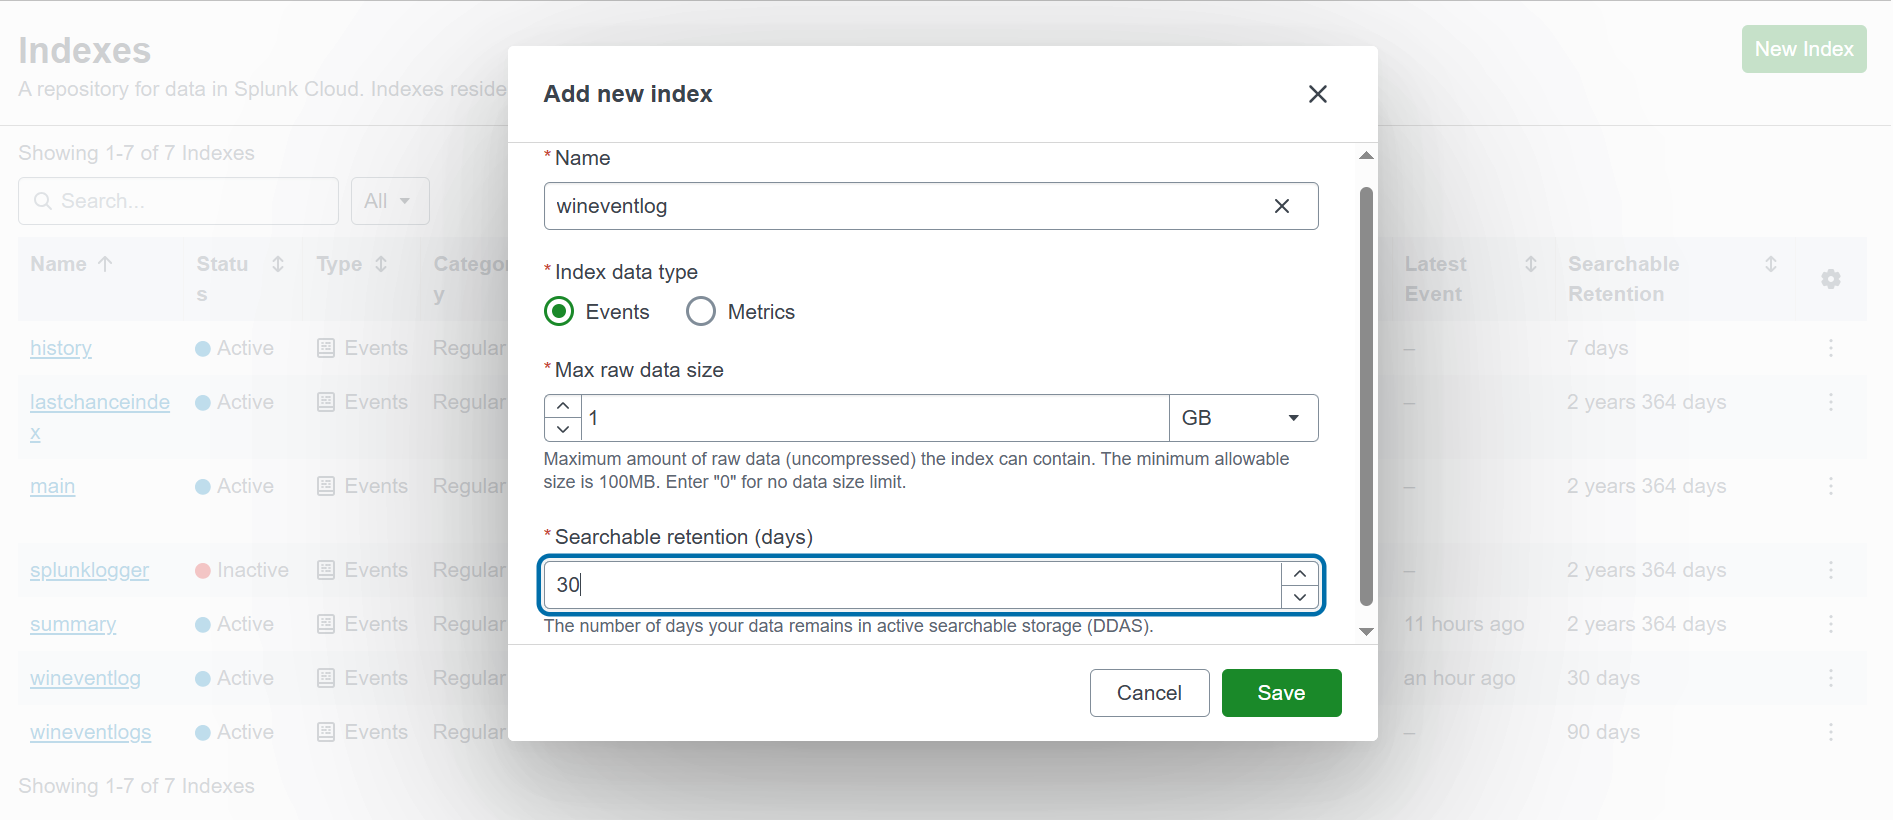
Fill in the following fields:
| Field | Value |
|---|---|
| Index Name | wineventlog |
| Index Data Type | Events |
| Searchable Time (days) | 30 |
Click Save.
wineventlog must match exactly what you put in inputs.conf later — same spelling, all lowercase. If they don't match, your data gets dropped or lands in the wrong index.
The Universal Forwarder Credentials file (splunkclouduf.spl) contains your Splunk Cloud instance address, port 9997 endpoint, and SSL certificates — all pre-configured. This is what tells your forwarder where to send data.
- Click Apps in the top navigation
- Click Universal Forwarder
- Click "Download Universal Forwarder Credentials"
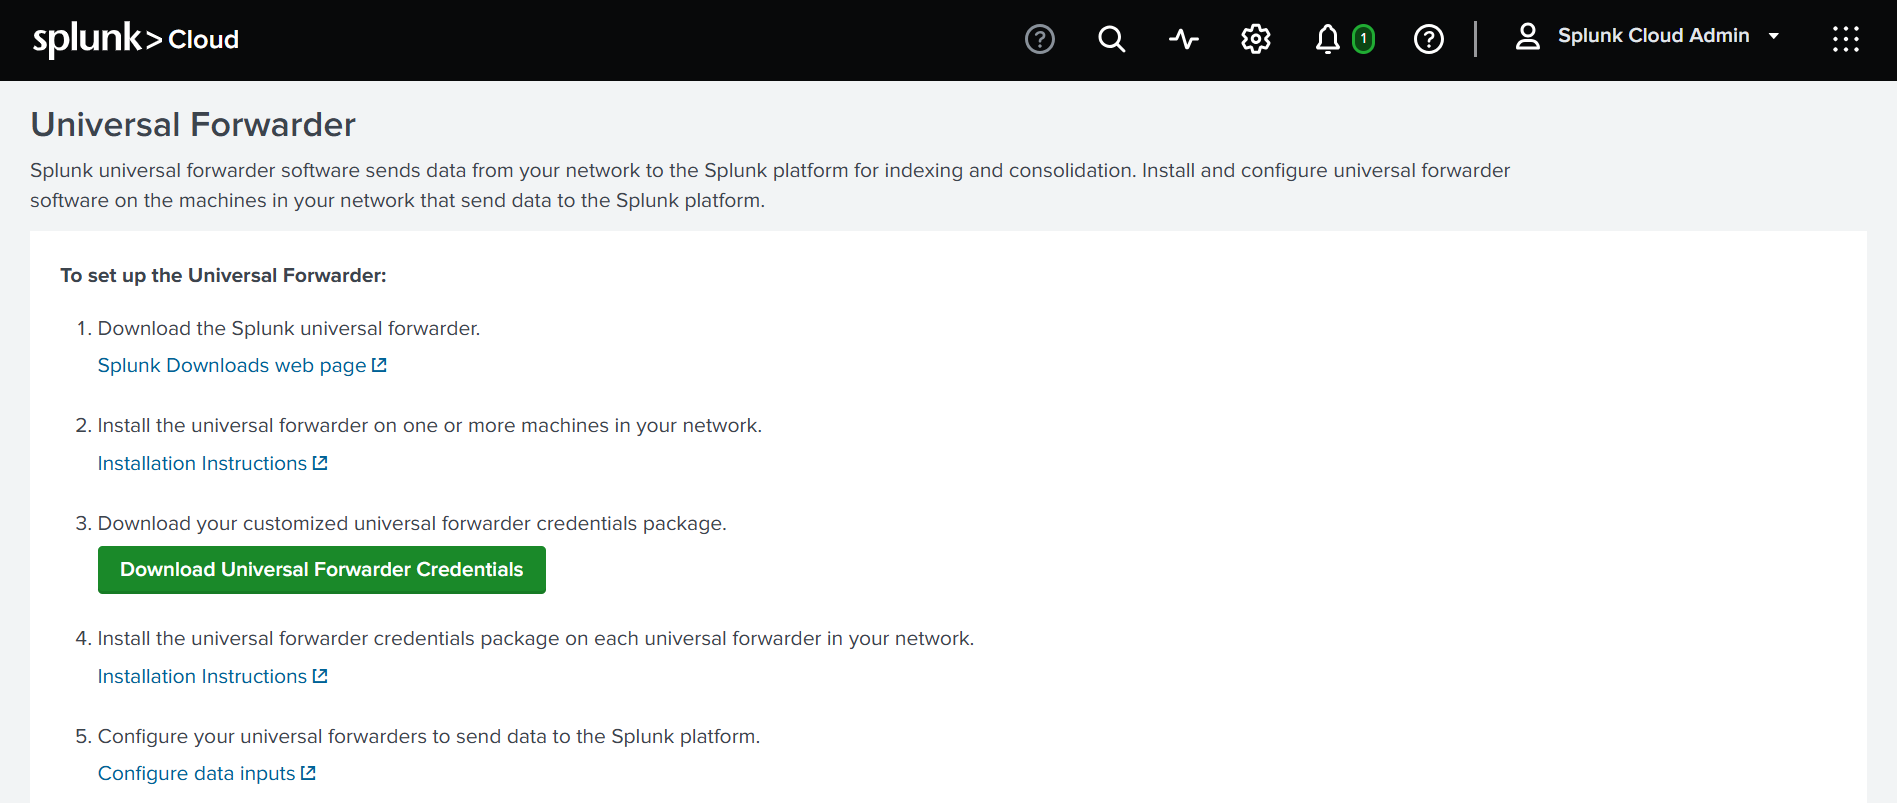
The file downloads as:
splunkclouduf.spl.spl file is a .tar.gz archive containing a pre-configured outputs.conf. When installed on your forwarder, it automatically points to your Splunk Cloud instance — no manual address entry needed.
Download
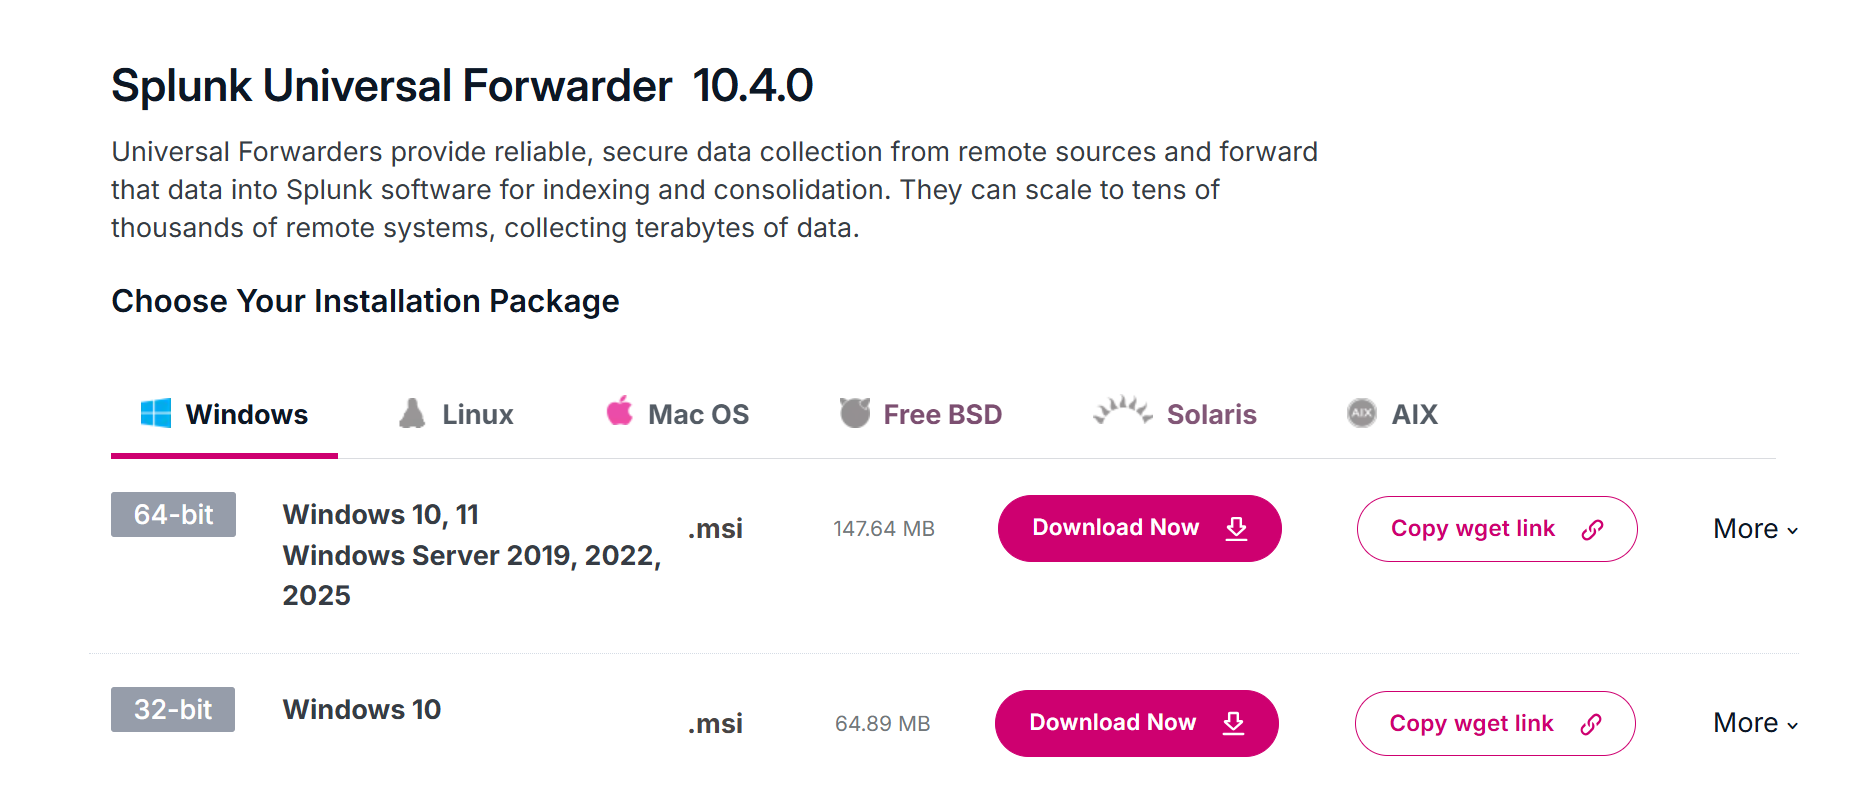
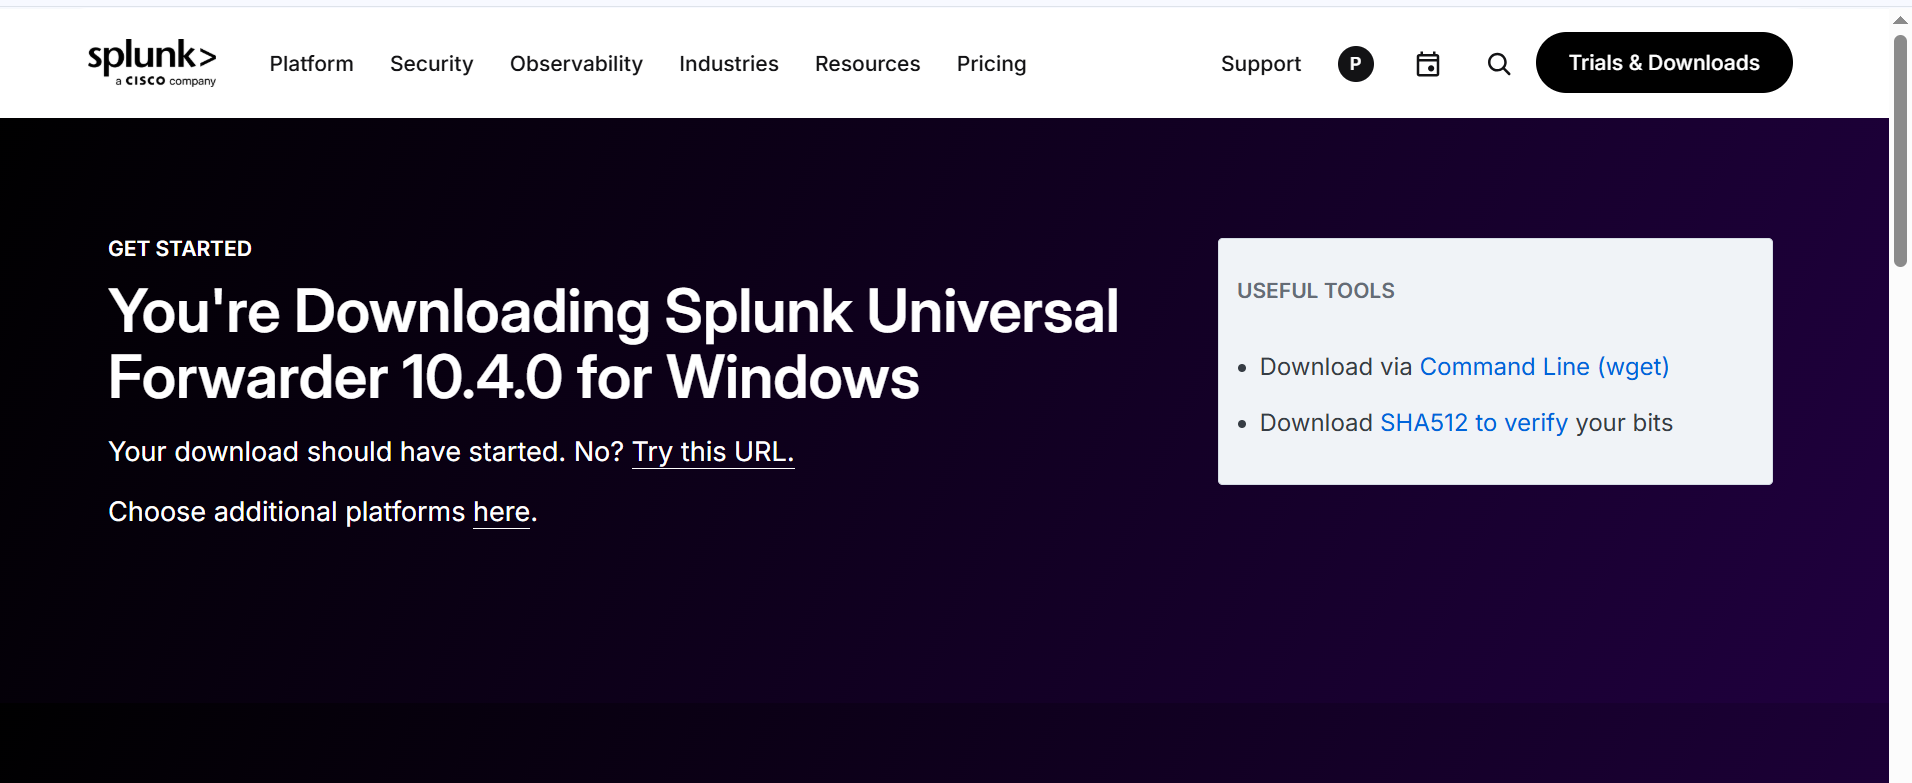
Go to the Splunk Universal Forwarder download page and select Windows 64-bit .msi:
https://www.splunk.com/en_us/download/universal-forwarder.htmlInstall
- Double-click the downloaded
.msifile - Accept the License Agreement
- Select the Splunk Cloud option
- Set your credentials (username:
admin, choose a password you will remember) - Leave Deployment Server blank
- Click Next → Install
@ or #, wrap it in single quotes in PowerShell — e.g. 'MyPass@123'.
The splunkclouduf.spl file is a .tar.gz archive. We extract it and copy the contents into the forwarder's apps folder. Open PowerShell as Administrator and run each command one at a time:
1. Extract the credentials file
tar -xzf "C:\Users\Dell\Downloads\splunkclouduf.spl" -C "C:\Users\Dell\Downloads\splunkclouduf_extracted"2. Verify what was extracted
ls "C:\Users\Dell\Downloads\splunkclouduf_extracted"You should see:
100_prd-p-kpfrw_splunkcloud3. Copy credentials to forwarder apps folder
Copy-Item "C:\Users\Dell\Downloads\splunkclouduf_extracted\*" "C:\Program Files\SplunkUniversalForwarder\etc\apps\" -Recurse -Force4. Verify the copy
ls "C:\Program Files\SplunkUniversalForwarder\etc\apps\"5. Restart the forwarder
Restart-Service SplunkForwarder6. Verify connection to Splunk Cloud
cd "C:\Program Files\SplunkUniversalForwarder\bin"
.\splunk.exe list forward-server
Expected output:
Active forwards:
        inputs.prd-p-kpfrw.splunkcloud.com:9997 (ssl)
Configured but inactive forwards:
        None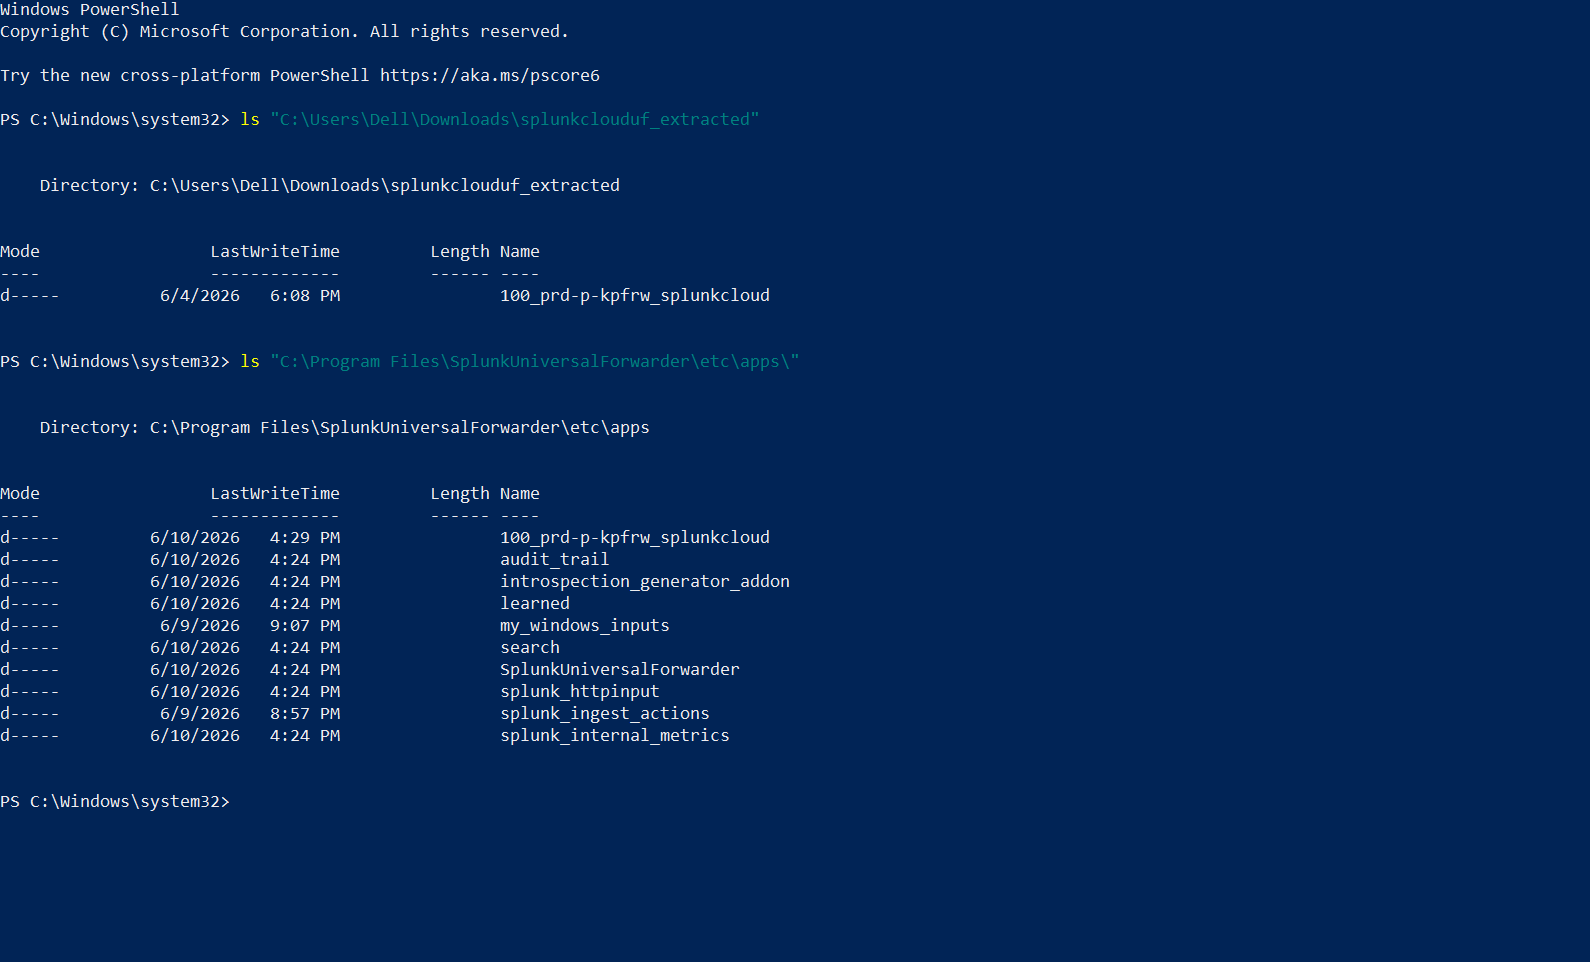
inputs.prd-p-kpfrw.splunkcloud.com:9997 (ssl) under Active forwards confirms your forwarder is connected to Splunk Cloud. This is a key milestone!
-auth flag.
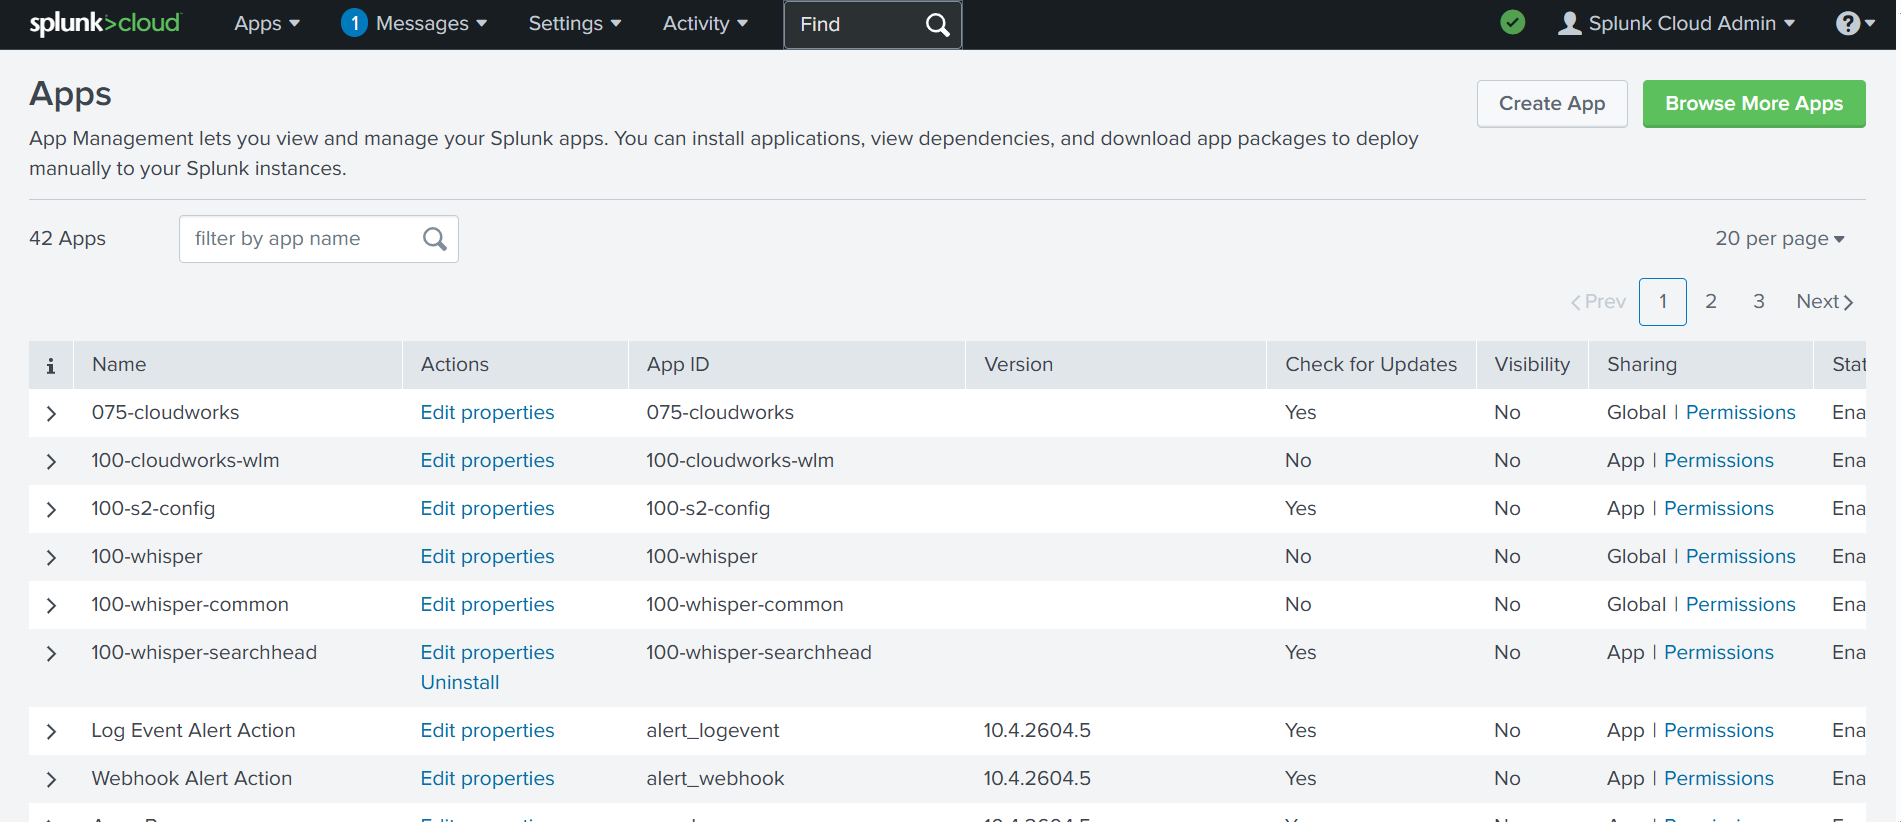
The Splunk Add-on for Windows provides the source types and field extractions needed to correctly parse Windows Event Logs. In our case it was already available in the Splunk Cloud app inventory.
Now create the inputs.conf file which tells the Universal Forwarder what data to collect.
1. Create the app folder structure
mkdir "C:\Program Files\SplunkUniversalForwarder\etc\apps\my_windows_inputs\local"2. Create inputs.conf in Notepad++
Open Notepad++ → File → New → paste this content exactly:
[WinEventLog://Application]
disabled = 0
start_from = oldest
index = wineventlog
renderXml = true

[WinEventLog://Security]
disabled = 0
start_from = oldest
index = wineventlog
renderXml = true

[WinEventLog://System]
disabled = 0
start_from = oldest
index = wineventlog
renderXml = true
3. Save the file correctly
- Click File → Save As
- Navigate to:
C:\Program Files\SplunkUniversalForwarder\etc\apps\my_windows_inputs\local\ - Set filename:
inputs.conf - Set Save as type to: All Files (*.*)
- Click Save
inputs.conf.txt which Splunk cannot read. Always use Notepad++ and select All Files (*.*).
4. Verify the file
ls "C:\Program Files\SplunkUniversalForwarder\etc\apps\my_windows_inputs\local\"Should show inputs.conf — NOT inputs.conf.txt.
type "C:\Program Files\SplunkUniversalForwarder\etc\apps\my_windows_inputs\local\inputs.conf"1. Restart the forwarder
Restart-Service SplunkForwarder2. Wait 2–3 minutes
Give the forwarder time to start up, read the new inputs.conf, and begin shipping events to Splunk Cloud.
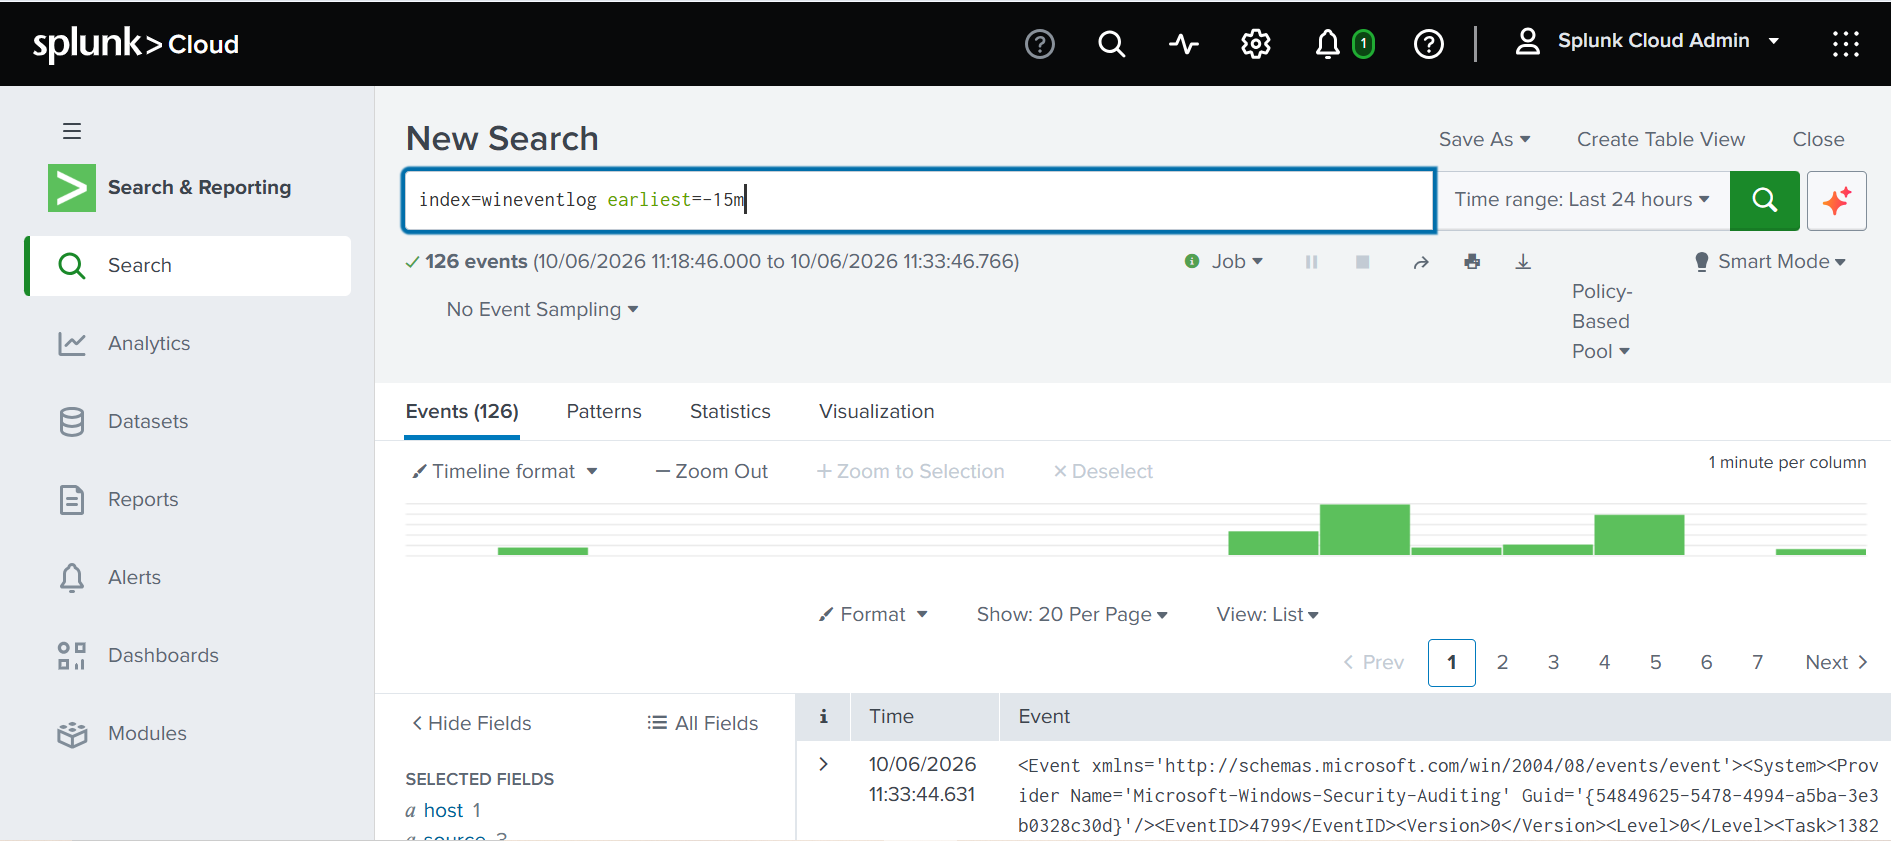
3. Search in Splunk Cloud
- Log in to your Splunk Cloud trial
- Go to Apps → Search & Reporting
- Enter this search:
index=wineventlog earliest=-15m- Set time to Last 15 minutes → click Search
Troubleshooting
Here are the real issues I ran into during this setup and exactly how I fixed them:
| Problem | Cause | Fix |
|---|---|---|
| Login failed in PowerShell CLI | Special characters (@, #) in password | Wrap in single quotes: 'MyPass@123' — or keep retrying, works after 1–2 attempts |
inputs.conf not found | Saved as inputs.conf.txt | Rename: Rename-Item inputs.conf.txt inputs.conf |
| No logs in Splunk Cloud | Index name mismatch | Verify index name is exactly wineventlog in both Splunk Cloud and inputs.conf |
| No active forwards | Credentials folder missing | Verify 100_prd-p-kpfrw_splunkcloud exists in etc\apps\ |
| Cannot delete files during uninstall | Forwarder service still running | Run Stop-Service SplunkForwarder first, then use Control Panel → Uninstall |
| Multiple commands fail at once | Pasting all lines as one command | Run each PowerShell command separately, one line at a time |
| .spl file won't extract as zip | It is tar.gz not zip format | Use tar -xzf command instead of Expand-Archive |
Conclusion
You have successfully set up the Splunk Universal Forwarder on your Windows machine and configured it to send Windows Event Logs — Application, Security, and System — to Splunk Cloud in real time.
This is a foundational skill for any SOC analyst. In a real enterprise environment you would deploy this across hundreds of machines using a Deployment Server, but the core concepts are identical to what we did here.
What's next?
- Build a dashboard in Splunk Cloud to visualize login attempts and failed authentications
- Set up alerts for Event ID 4625 (failed logins) and Event ID 4688 (new process creation)
- Try onboarding Linux logs using the same Universal Forwarder approach
- Explore the Splunk Add-on for Windows for advanced collection — performance metrics, Active Directory, DNS